
This post is for all you other DIY-tiny-budget-little-bit-at-a-time people out there. The cabin is our third house, but the first that feels like ours since there is no looming transfer season ahead of us. Every project in our other two houses was considered with a new owner in mind. That meant a lot of generic-neutral things were chosen. It was always a compromise. Joe and I love all weird eclectic handmade things.
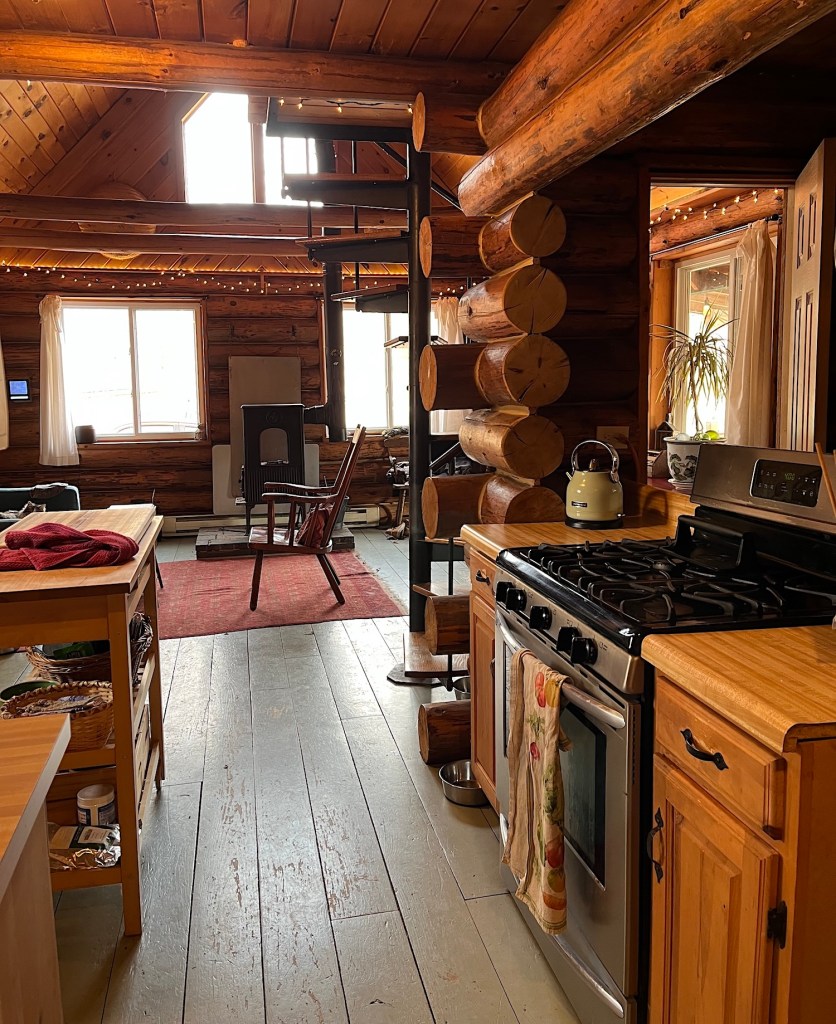
I’ve been ruminating over the clunky flow in our small kitchen for some time. The cabin was built first and the addition was added onto the back, that means the original back door is now the hallway to the rest of the house (bathroom, bedrooms, living room).
The “hallway” goes right past the stove which means whoever is cooking is always in the way and always double checking before they open the oven door, move a hot pot towards the sink, etc. etc. I know, it’s not a huge deal-breaker, but as a family that preserves and cooks a ton of their food, it was a noticeable inconvenience on the regular. Joe and I started talking about possibilities of changing the layout and the oven (which has had a broken broiler for 4 years) recently started to smell strange when we turned it on, so we decided to tackle the project. We could have just replaced the oven. But how fun would that be?
Let construction zone living begin…..
I know this looks like a bad AI photo – but I totally forgot to take a picture before we started. This is just after Joe took down the false wall/paneling directly behind the stove. There is a small room behind the stove (see doorway) that served as a nice sized pantry. It was the original bathroom when the cabin was first built. When they built the addition, this became a pantry with a window and they cut into the log wall to make the stove nook. Here is the back of what this space looks like……
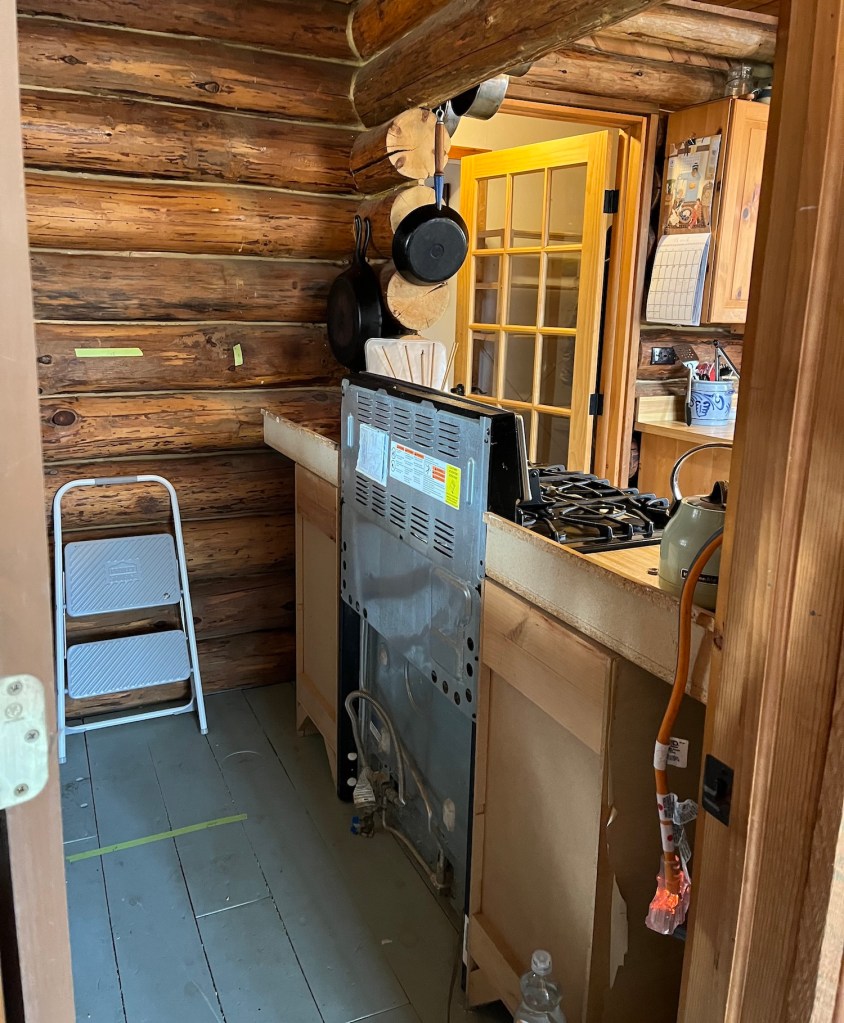
Our plan is to remove the false wall (already done in this photo), remove the door to the pantry, move the stove to the wall where that stool is at, and create some storage + prep space around the stove. This entire space is only 5 feet by 6.5 feet – every inch counts!!

Hardy board installed for tile backsplash. Hood/vent installed – I am so excited to have proper ventilation in the kitchen!!! Oven installed the first time. I don’t even know how many times Joe moved the oven during the last 4 weeks because we needed to complete some part of the project or eat real food. At least a half dozen.
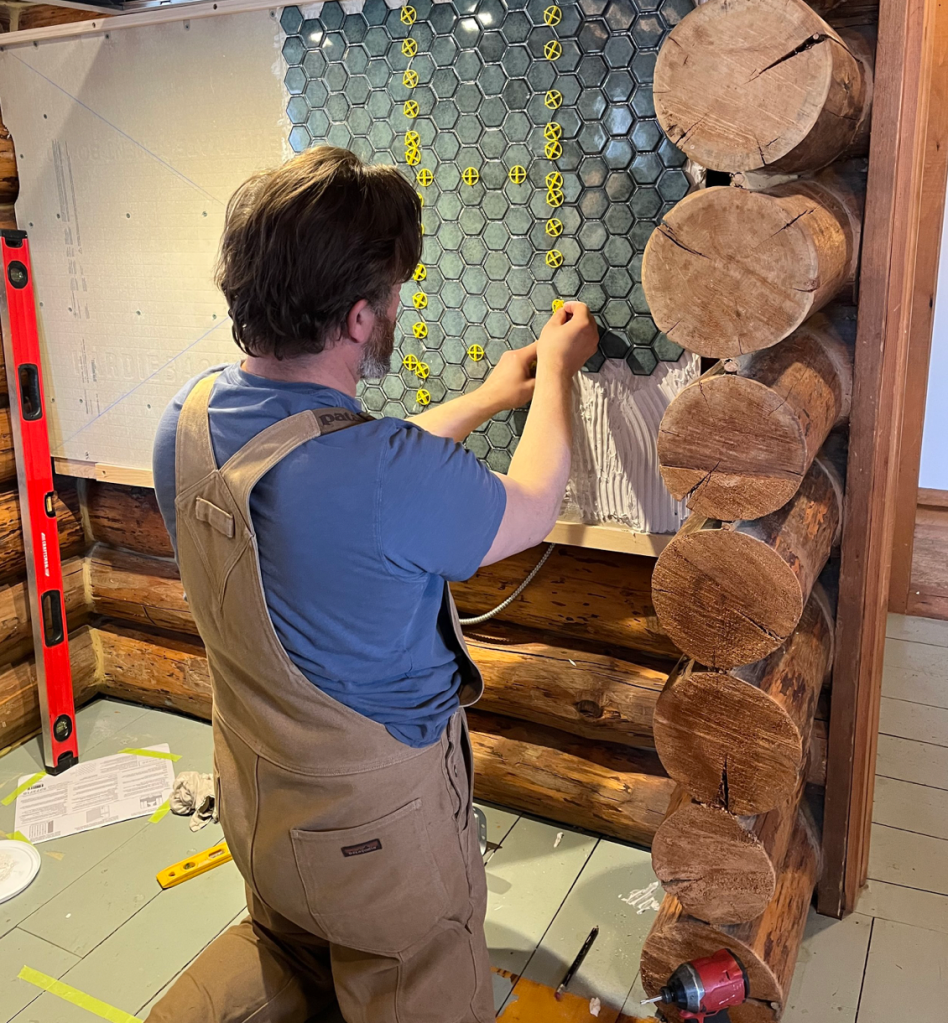
Hello gorgeous not at all neutral “Jade” honeycomb tile backsplash (obviously I had to chose them with that color name).

Originally I had hoped to have a small shelving unit for pantry goods in the corner, but after seeing it in real life, and not just measuring it and envisioning it in my brain, I decided I really wanted a full length counter instead. We bought a small oak cabinet for the right side, and Joe will build the counter + bench for the left side. We bought some small moving dollies and we’ll screw those wooden boxes to them to create “drawers” that will slide under the counter.

Using the shelf to create a mock-up of a full counter……. so much easier to see it when you actually, uhm, see it.
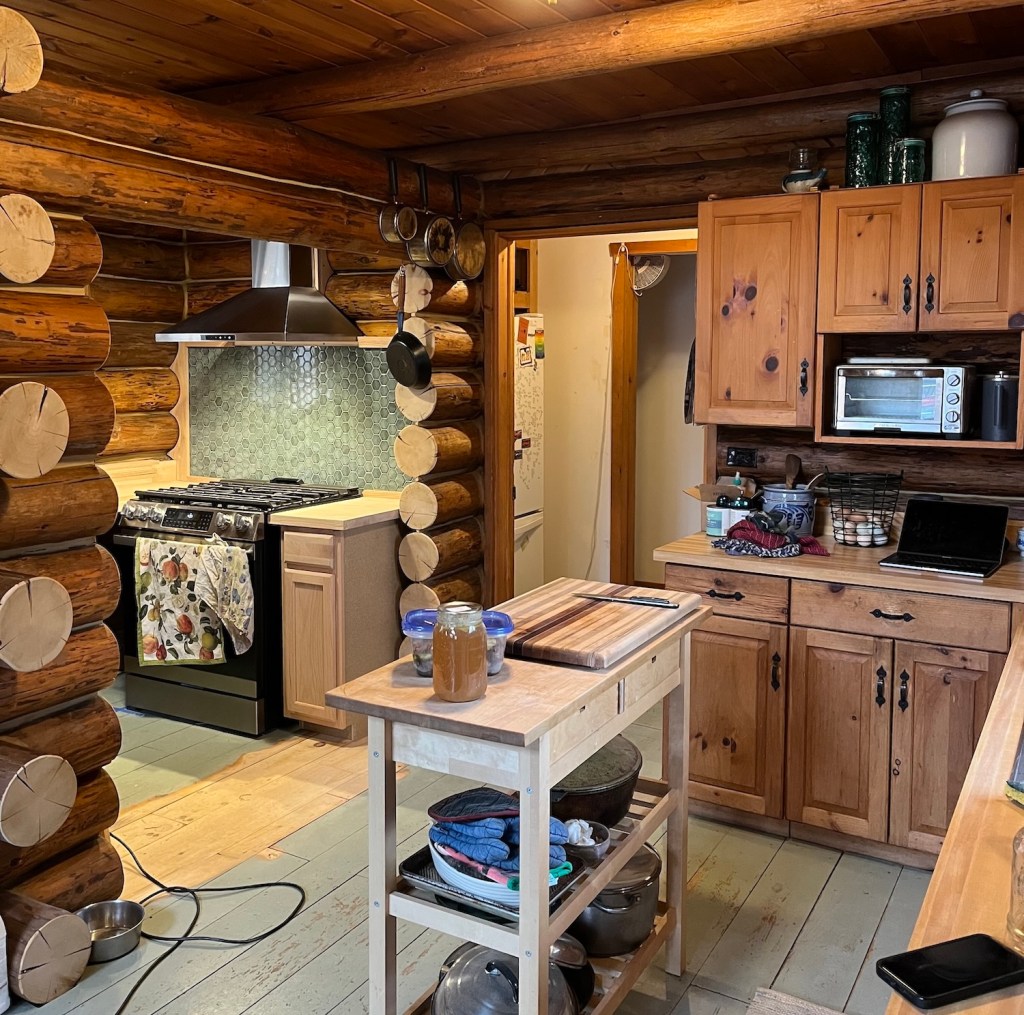
A mostly usable kitchen! So much finish work to go though………
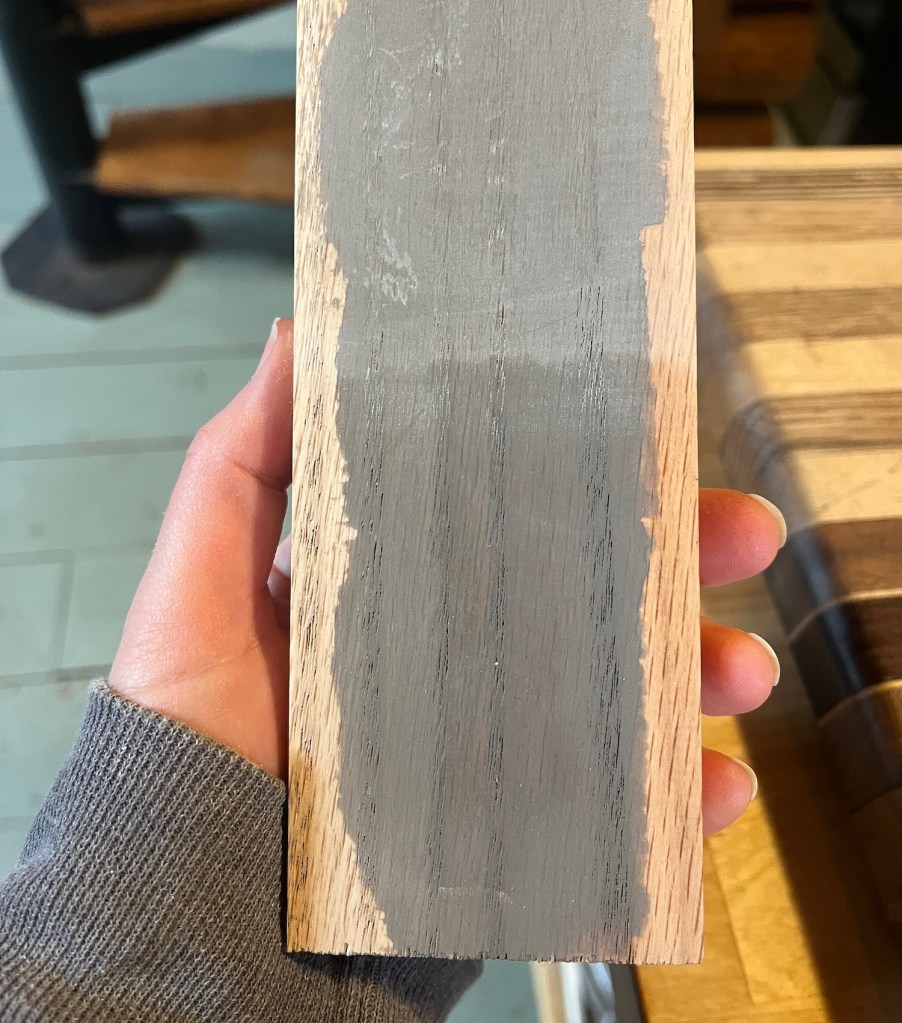
Testing finishes on milk paint for the cabinet + counter base. Clear wax on top and oil on the bottom. I really like the oil, it’s the same we used on our floors when we refinished them before we moved in, a 50/50 blend of tung and citrus. It seals the wood (or milk paint) and has a nice satin sheen. Next up is electrical, finishing the butcher block countertops, painting the floor, and figuring out what to do with all the pantry stuff in the living room…. ….
More soon,
~s
Leave a Reply